Hi, I'm gonna share with you my work progress of today.
I was painting a boston terrier for one customer. (technique that I used was pen and tempera paints - not the ones in huge bottles that you can buy in a store for poster painting, these look more like little acrylic tubes, have the same thickness too - which I like. And they are just amazing! I honestly love working with them. Unlike acrylics, that dry out fast, these things are still editable after a while. But of course, not like after a day or so, lol)
So, kind of sharing how I worked, kind of a "how-to" also.
Yeah.. you can just look at it and decide for yourself :)
 |
| So I started with a basic sketch. |
 |
| After that, I drew an outline with a pen. |
 |
| Ok, I know this is not the proper way of layering paint, but it works great for me! I start with the darkest - in this case - black. This is how I put down the color base. |
 |
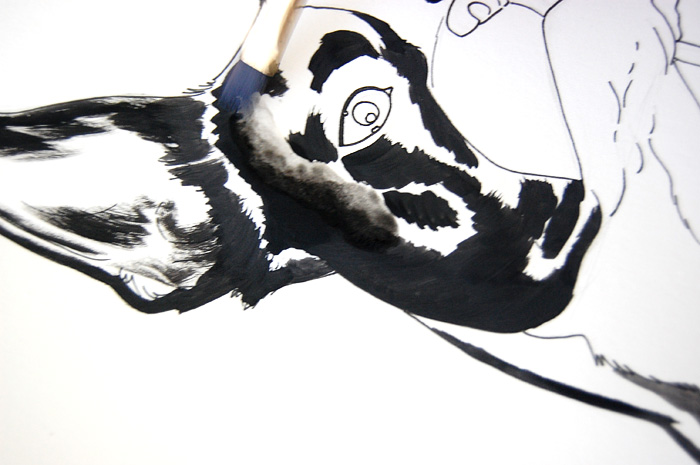
| This is what it looks like after putting down the black paint for all the major shadows in the picture. |
 |
| Now it's time to water it down, it will make a nice blend. I use a larger flat brush and I only put it in clear water. |
 |
| Getting through... :) |
 |
| ....all the spots that need to have it's color. (make sure though you don't paint over the areas where there's light. You need to keep the contrasts visible) |
 |
| After doing the face, the ears and a little bit of the body, this is what our boston looks like. Getting there but still needs more work :) |
 |
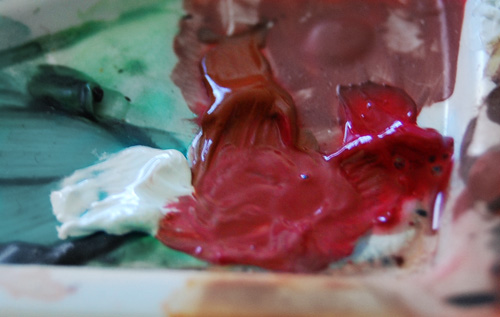
| Now for the inside-of-ear color - I recommend a blend of white, brown, and dark red. It will give it the right natural look. |
 |
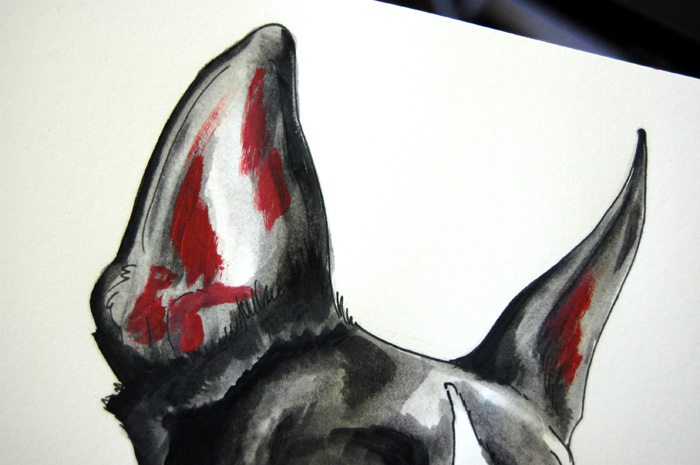
| Here I put the paint down in a few simple strokes (all these strokes have a thicker layers) |
 |
| Here the paint was again watered down and it made a nice blend. |
 |
| Here I just continued adding the basic paint to give the boston its looks. Still the same steps. |
 |
| This is what the boston looks now with all the base put down. Starting to look pretty good, but now it's the time to add THE DETAILS! |
 |
| The eyes - and remember, these details are pretty important! :) they will make the painting look more alive. |
 |
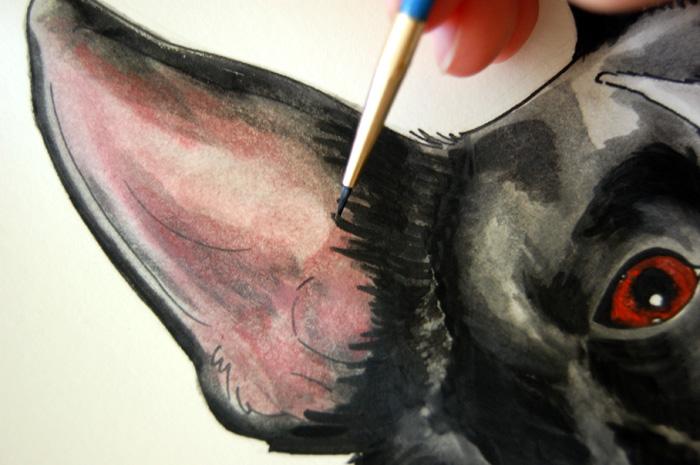
| The ears - for these details I was using a small brush "0". |
 |
| And the nose. This part of the face is also important :) |
 |
| Since the ears didn't have much of the shape inside, I took a medium brush, dried it out a bit and just tapped on the areas that needed to be lightly darkened. |
 |
| "Looking good, sir!" |
 |
I used the dry brush again on the rest of the body to get the texture of the boston's hair correctly.
And this is what the finished painting looks like :)
ENJOY!:) |


How cool is this to see your process! Amazing painting!
ReplyDeleteSmiles
Thanks Julia! :)
ReplyDeleteNádherné, jsi hrozně moc šikovná :))
ReplyDeletejeje, děkuji :)
ReplyDelete